
Migrate From GoDaddy
To Office 365
The Step-by-Step
Guide

Table of Contents
01
Introduction
02
Your Migration Checklist
03
Migrating from GoDaddy to
Office 365
06
Post-Migration Steps
09
Final Thoughts

01
Introduction


02
Your Migration Checklist

Before you begin, you’ll need the answers to following
questions and to complete these tasks. Feel free to print
out this page and use it as your migration checklist:
What email service are you currently using?
Who is your DNS provide? Who is the admin to the
account, and what are the credentials?
How many inboxes are there?
What items do you want to migrate? Just the
emails? Contacts? Calendar items?
Do you have any shared inboxes?
How many domains do you have?
How many email aliases are there?
How large (in GBs) are each of the mailboxes?
Create a BitTitan account
You have the first Name, last Name, username and
password for all your users in an excel spreadsheet
(unless you are planning to be using Enable SSI,
Source-Side Impersonation, on GoDaddy)
Calculate your migration time. Microsoft's policy
limits the transfer rate of data to 10GB per user/per
day. What does that mean? Take a list of all the
mailboxes you have today and rank them by size,
from largest to smallest. If the largest mailbox of all
of them is 18GB, then it will take 2 days to migrate.
If the largest of the bunch is 7GB, then it will take
under a day to migrate all of them.

03
Migrating from GoDaddy to
Office 365

STEP 1: DNS ACCESS
Validate that you can still connect to the DNS on GoDaddy
STEP 2: BACKUP CLIENT GODADDY DNS SETTINGS
Log in to your GoDaddy account
Click on Account Settings
Select the domain you will be working on
Click on DNS
Under the Advanced Feature section in the bottom of the page, click on Export
Zone File (Windows)
Save the file locally so you can restore the DNS to its original state if something
were to happen

STEP 3: PREPARATION STEPS ON THE TARGET OFFICE 365 TENANT
Log on the target Microsoft 365 admin portal portal.office.com
Make sure you are a Global Administrator on the target tenant.
Create all end-users accounts using the <tenantName>.onmicrosoft.com
address.
Provision all the necessary Microsoft 365 licenses from your CSP (Cloud Solution
Provider)
Assign the licenses to your end-users.
Note: all end-users included in the email migration must be licensed. They must
have at least Exchange Online Plan 1 assigned. The Global Admin account needs
to be licensed as well.
STEP 4: BECOME TENANT ADMIN ON GODADDY
Go to Azure AD Portal https://portal.azure.com (in private mode)
Use the GoDaddy credential from one of the users with Admin privileges
Once on the Azure portal, select Azure Active Directory.
Go to Users.
Look for an Admin account that looks like a[email protected]microsoft.com.
Select this user account and click on Reset Password at the Top Navigation
pane > Reset Password
You will get a temporary Password, Copy the temp password as well as the
admin@xxxx.onmicrosoft.com username into Notepad.
Sign-Out for the Azure Portal and open a new browser session and login to
https://portal.azure.com with the New Global Admin Account
admin@xxxx.onmicrosoft.com. During the first sign-in, reset the password and
set a new password.
Make sure to save it locally on Notepad
Important: make sure that the Global Account is licensed too!
NOTES:
•You will be asked to enter some credentials, enter the Global Admin from the
source tenant first.
•Enable-OrganizationCustomization command can take a very long time to run.
•Ignore any error such as "This operation is not available in current service offer."
•Ignore any error such as "The assignment of the management role
'ApplicationImpersonation' [...] won't take effect until user is migrated."
•Make sure to replace "admin@domain.com" in the last PowerShell command above
with the global admin account used for migration.
• Close the PowerShell Command
• Repeat the process by using the target Global Admin credentials instead
• SSI will be enable on both the target and source tenant.
STEP 6: Create a Migration Project on BitTitan and Perform a first Full
Migration
On BitTitan Go to My Projects
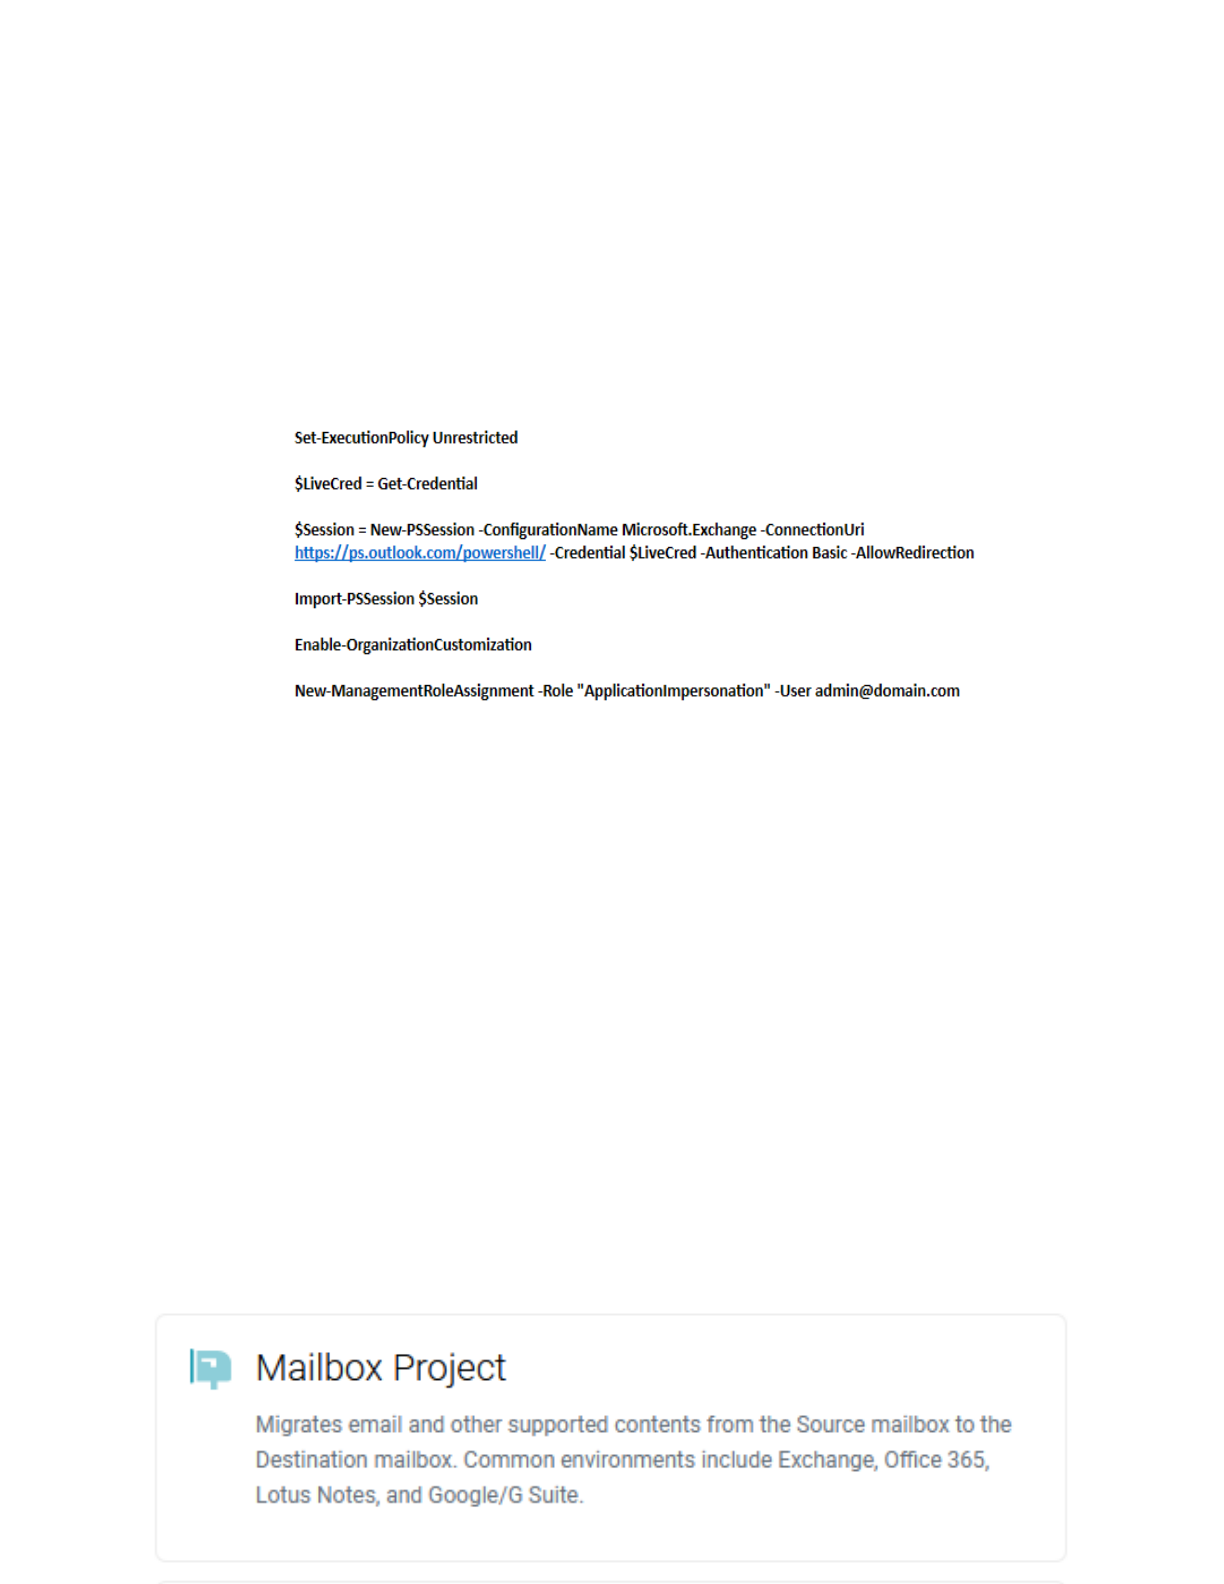
Create a Mailbox Project
STEP 5: ENABLE SSI (SOURCE-SIDE IMPERSONATION) ON GODADDY
Note: these are recommended steps to avoid asking all passwords from your end-
users.
Click on the Windows Start button.
Search for Windows PowerShell (PowerShell should already be installed).
Start PowerShell under an administrator context (right-click -> run as
administrator)
Run the following PowerShell commands (one at a time):
Fill up Project Name and create a New Customer
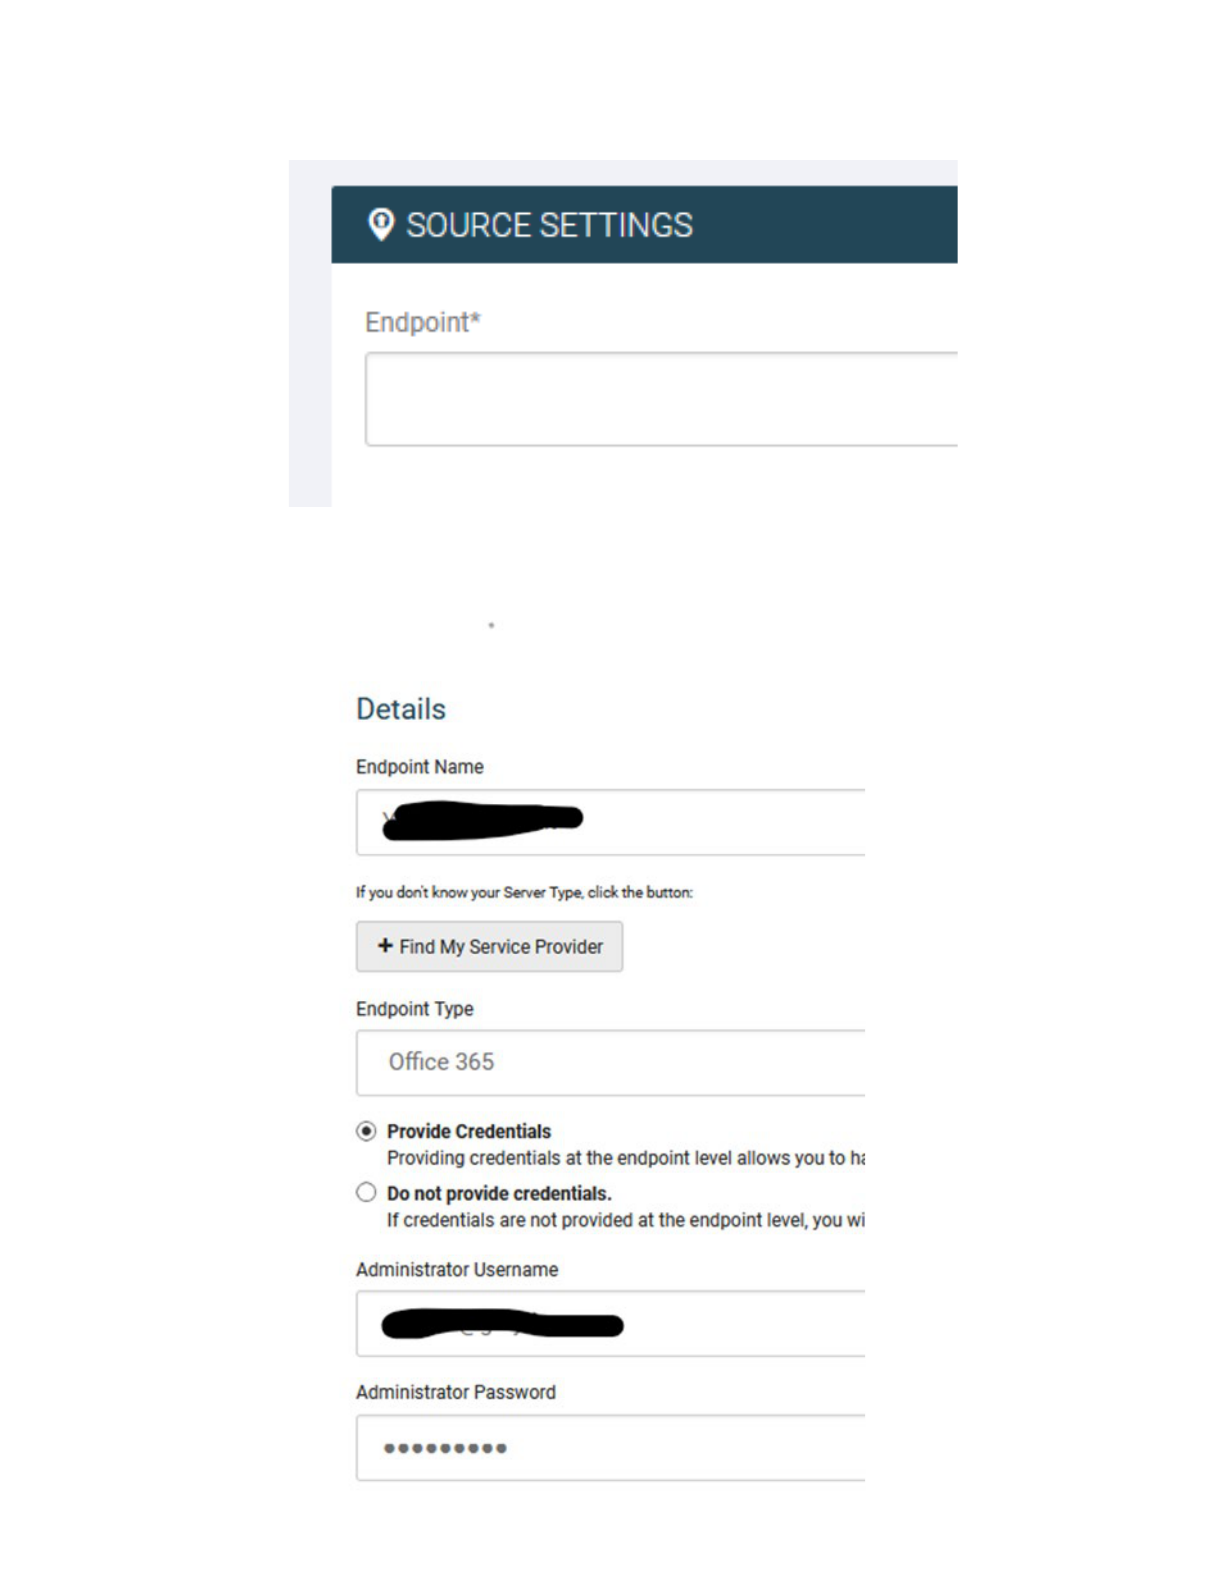
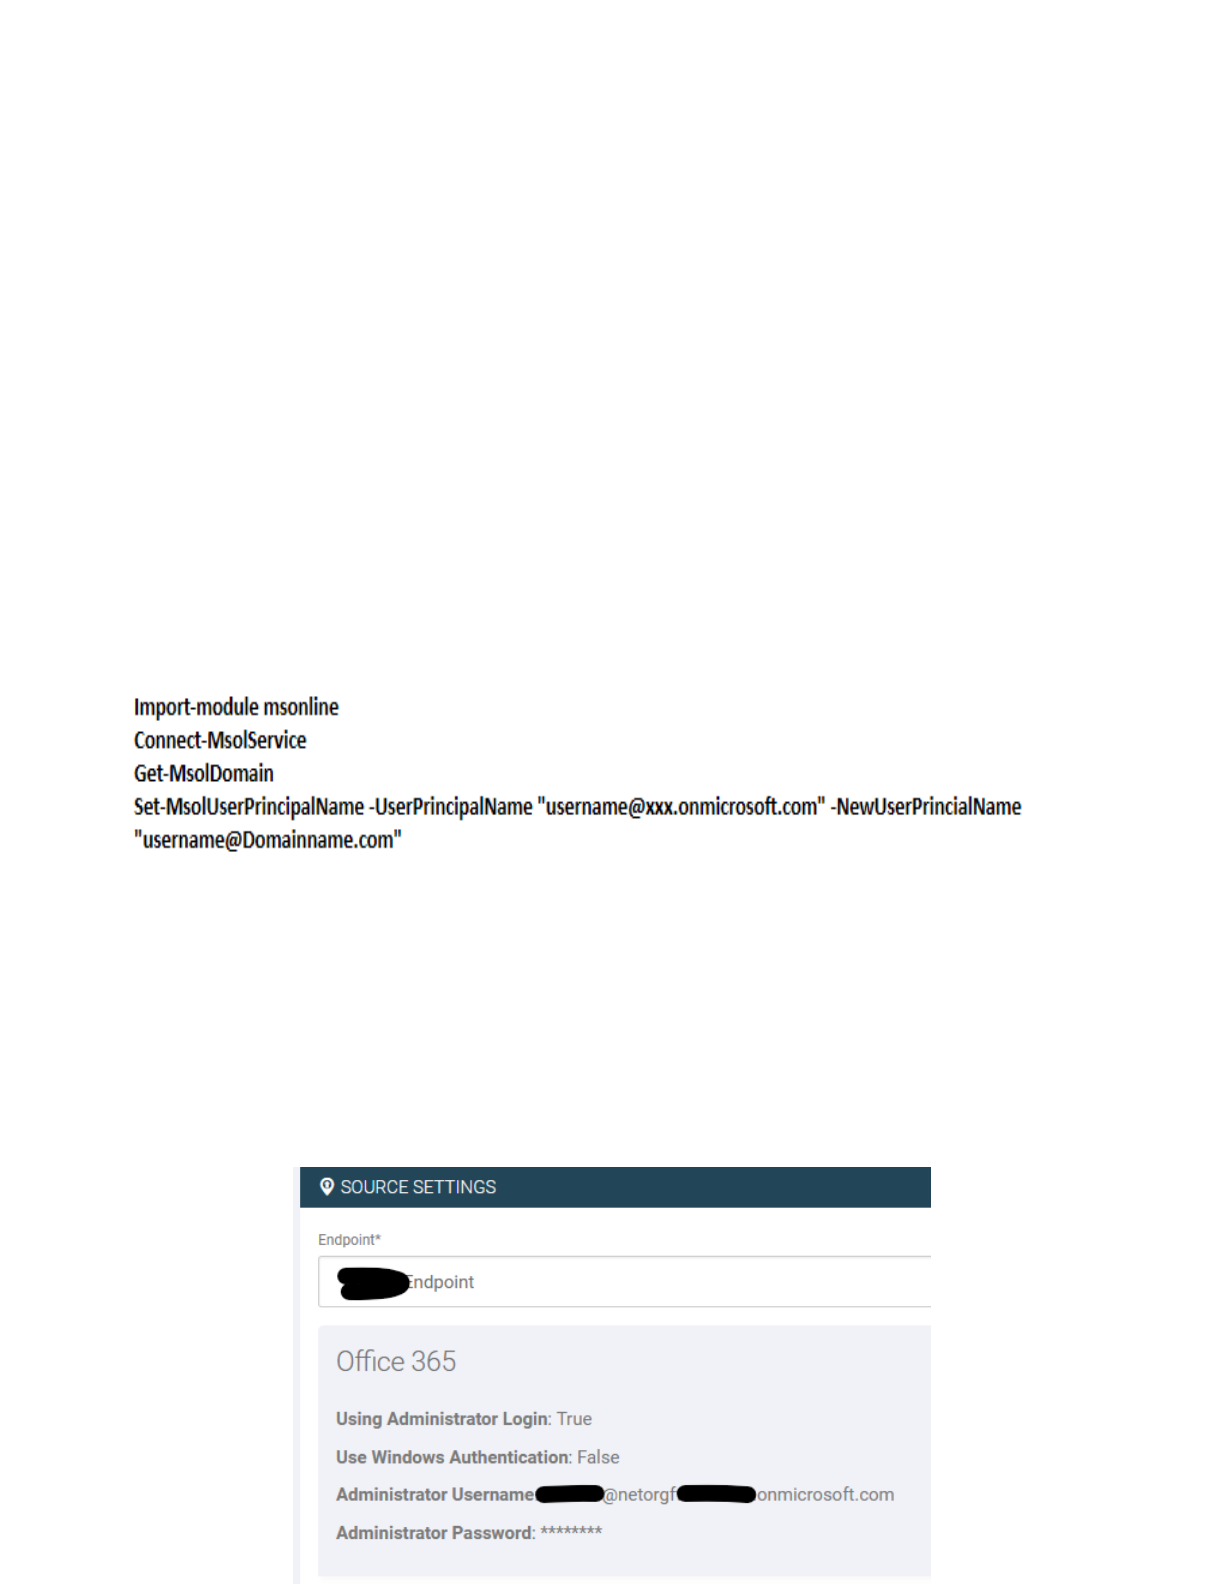
Provide an endpoint name and provide the credentials for the source (ie
credentials for the Global Admin).
This is what needs to be selected for GoDaddy:
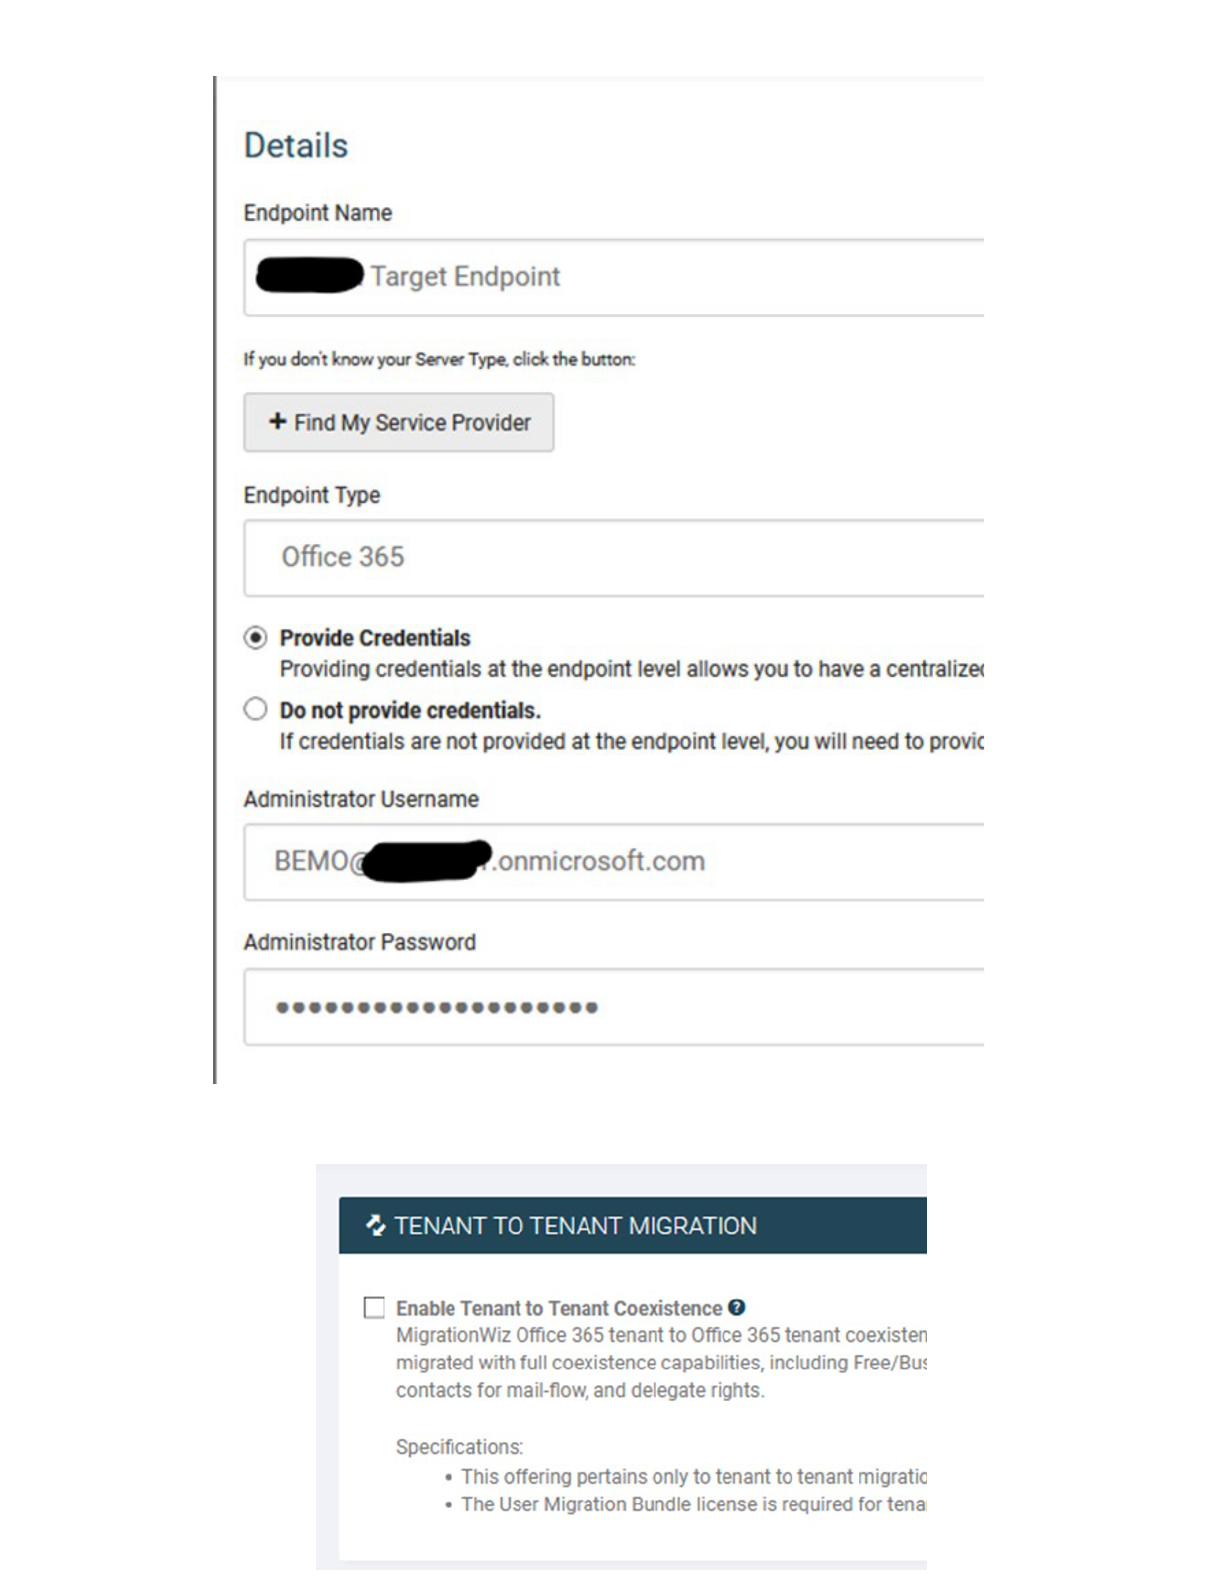
Create an endpoint for the target. Provide the Global Admin credentials.
Leave the following box unchecked:
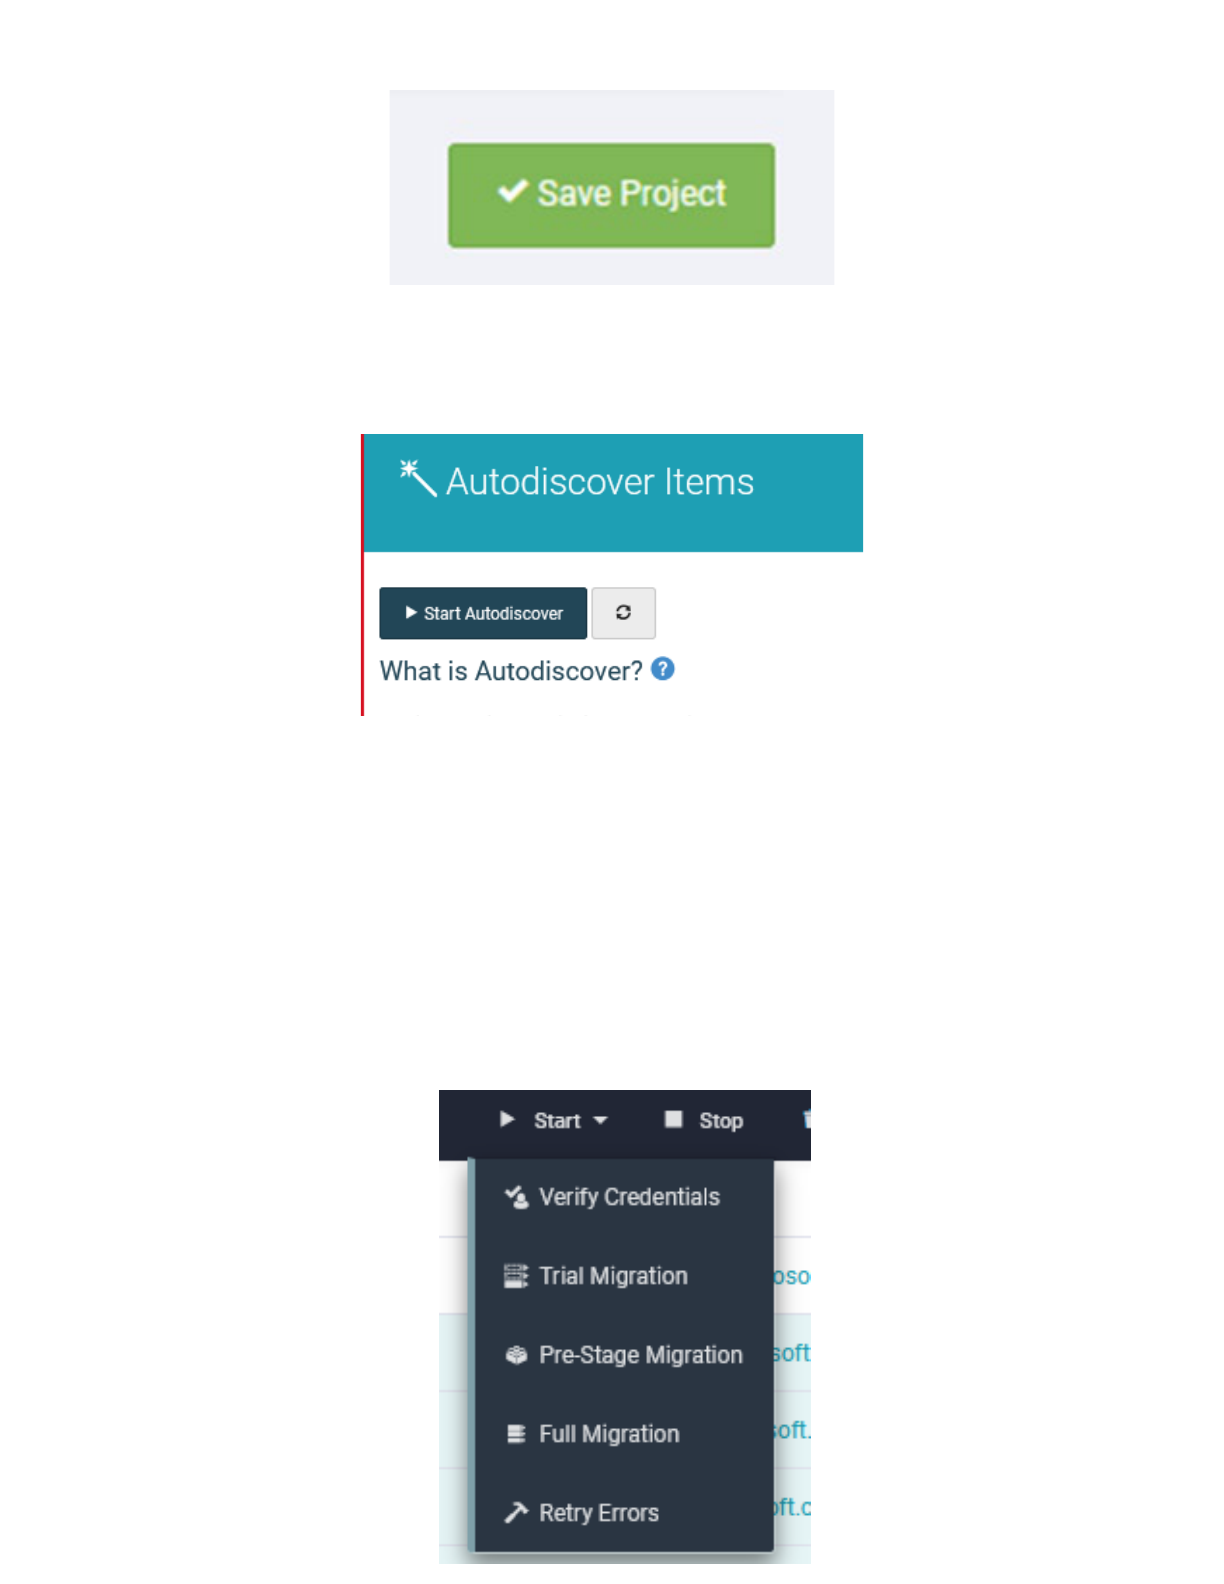
Save Project
Run the Autodiscover tool
Make sure that all the mailboxes that are in scope are displayed in the
project window.
Make sure to change the target email to the onmicrosoft.com one that
was setup on step 3. Edit each mailbox and change the target email
address if necessary.
Select at least 2 mailboxes and verify that the credentials are valid ==>
Start / Verify Credentials
Wait until both jobs are completed (it can take a few minutes…..)
If all are ready, select all mailboxes in scope and launch a full sync ==>
Start / Full Migration
Make sure to buy BitTitan licenses if there is not enough. A Credit Card
and address will need to be used at this stage
If there are enough licenses, start the migration
Wait for the first migration to be completed. THIS CAN TAKE SEVERAL
DAYS!!!
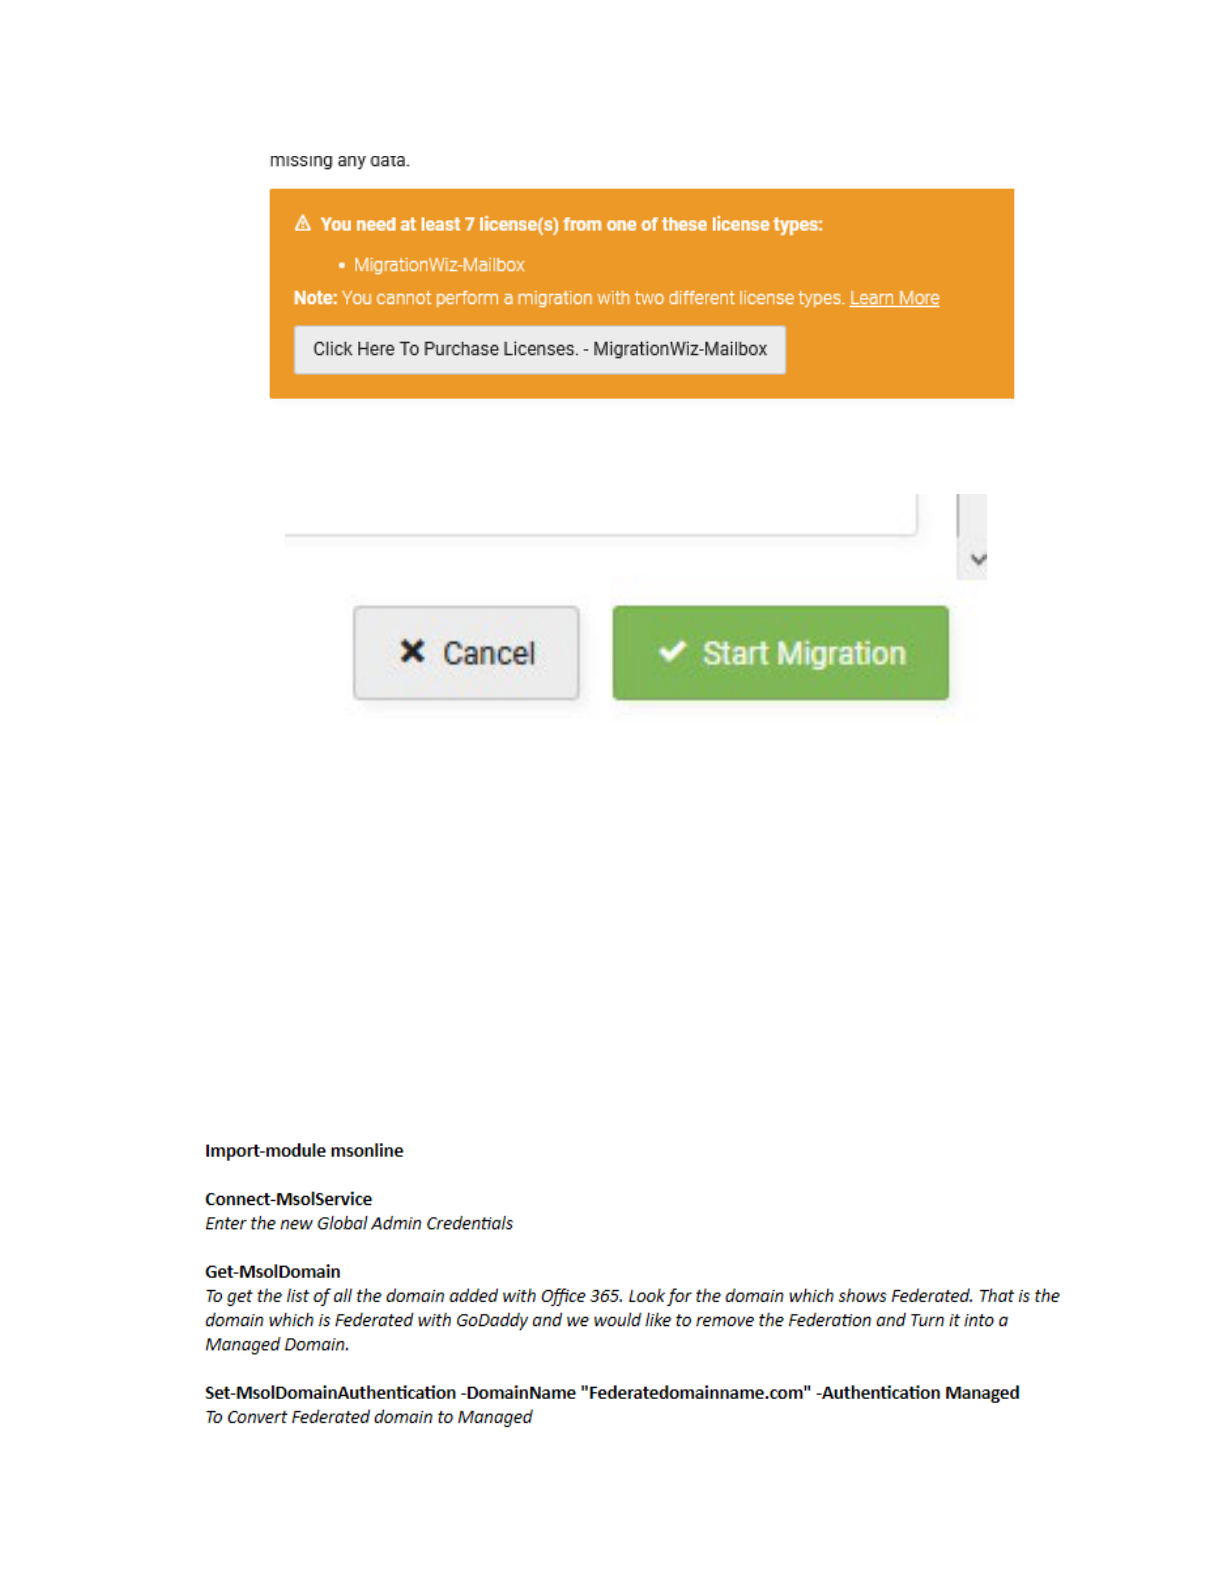
STEP 7: REMOVE FEDERATION WITH GODADDY
Open Windows PowerShell as Administrator and run the following commands
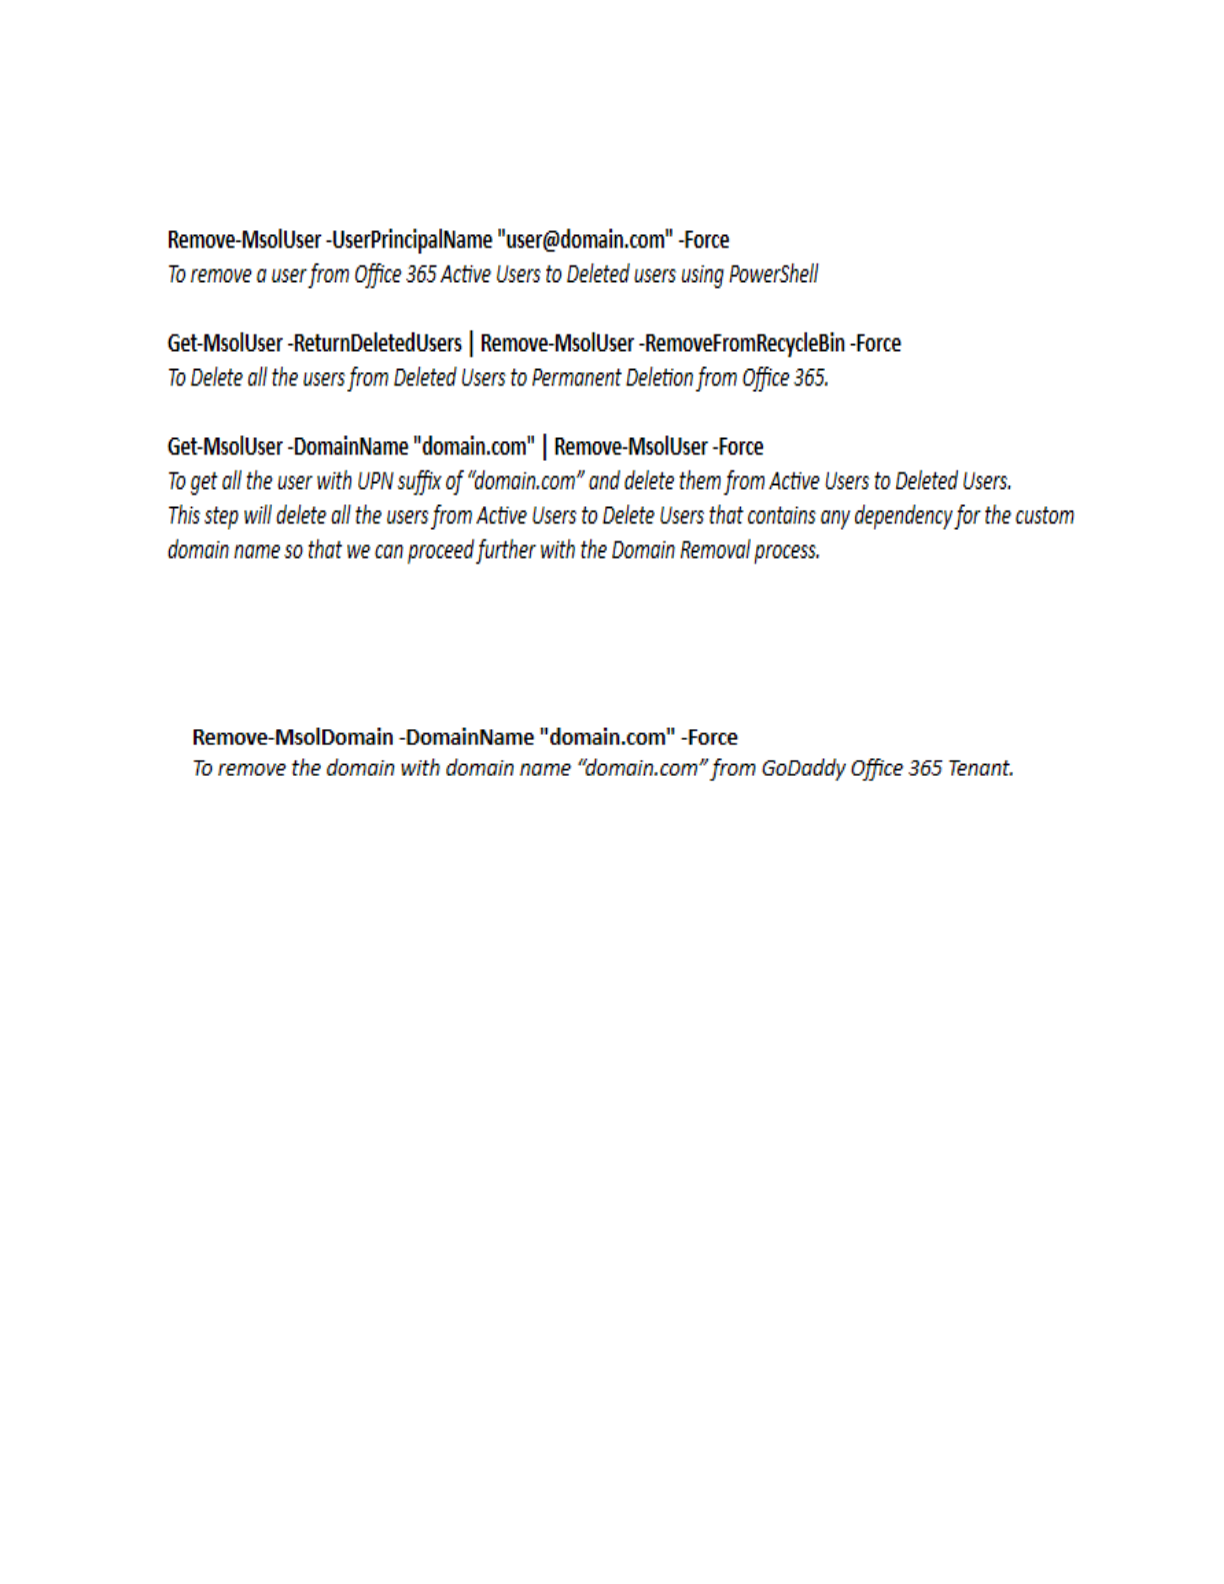
STEP 8: DELETE USER ACCOUNTS/ EMAIL ADDRESSES ON GODADDY
Run the following commands:
STEP 9: REMOVE DOMAIN FROM GODADDY
Run the following commands:
STEP 10: ADD VANITY DOMAIN AND UPDATE DNS ON NEW OFFICE 365 TENANT
Log to Office 365 with Admin credentials
Go to Admin -> Setup -> Domains
Click on Add Domain
Enter your domain
You will be prompted by the Verify Domain page. Select Add a TXT record
instead
On a separate browser, open your DNS and add the TXT record
Once done, wait few minutes and then click on Verify
You will now be prompted by the Update DNS settings page. Select I'll add the
DNS records myself
Update the DNS accordingly and remove any GoDaddy email server references
Once done, click the Refresh button until you get the message "All DNS records
are correct, no error found"
STEP 11: UPDATE PRIMARY EMAIL ADDRESSES TO NEW VANITY DOMAIN
On Office 365 Portal, click on Users -> Active users
Select one user, and click Edit within the Username / Email section
Create a new alias using the new vanity domain name and click Add
Click Set as primary
A big Warning yellow box will be displayed. Click Save
Click Close
Now ready the last 5 steps (of Step 11) for all the other users
If you get a warning Red box saying that you need to wait up to 4 hrs, do the following
steps:
Open Windows PowerShell as Administrator and run the following commands:
STEP 12: FINAL SYNCHRONIZATION
This step is really important! A final synchronization needs to be performed to
make sure that all emails have been captured.
In BitTitan, Once the domain has been correctly added on Office 365. Modify the
project settings and change the source to be the admin account on the
netorgXXX.onmicrosoft.com account instead of the account using the vanity
domain.

Run a full synchronization on 1 small mailbox to validate that there is no
credentials issues
If the test full sync does not work, make sure that the password for the source
admin has not been modified during the vanity domain deletion.
Run a full synchronization on all mailboxes and wait for this step to be
completed before proceeding to next step.
STEP 13: EMAIL TESTING
On Office 365 Portal, click on Users -> Active users
Select one of the users and reset his password (uncheck Make this user change
their password when they first sign in)
Now, send a test email to this user
In a separate window, open Office 365 portal, use the credential of this user, and
confirm that your email was received.
Delete the test email from their inbox as well as their deleted email folder
Consider this step completed only when both send and receive tests have been
successful
STEP 14: PASSWORD RESET
Now, reset the passwords for all users (using the password you have
communicated to your users in Post Migration Steps) and check this user can
change their password when they first sign in
All passwords should now have been reset
STEP 15: CLEAN UP
Make sure to delete the accounts from the Deleted Users to Permanent Deletion
from Office 365. Open Windows PowerShell as Administrator and run the
following commands:

STEP 15: SET SSPR ON A NEW DOMAIN
Within Office 365, click on Admin -> Admin centers ->Azure Active Directory
Click on Azure Active Directory
Click on Password Reset
Under Self-service password reset enabled, select All
Click Save
Congratulations! You are done. Now, for the post-migration steps.

04
Post-Migration Steps
STEP 1: RESET YOUR PASSWORD
To connect to your new email:
Go to https://www.office.com
Click on Log in
Use your credentials
i. Username: <your email address> (i.e.: johndoe@contosos.com)
ii. Temporary password: NewPassw0rd! (<-just an example)
iii. Follow the wizard to reset and create your own password.
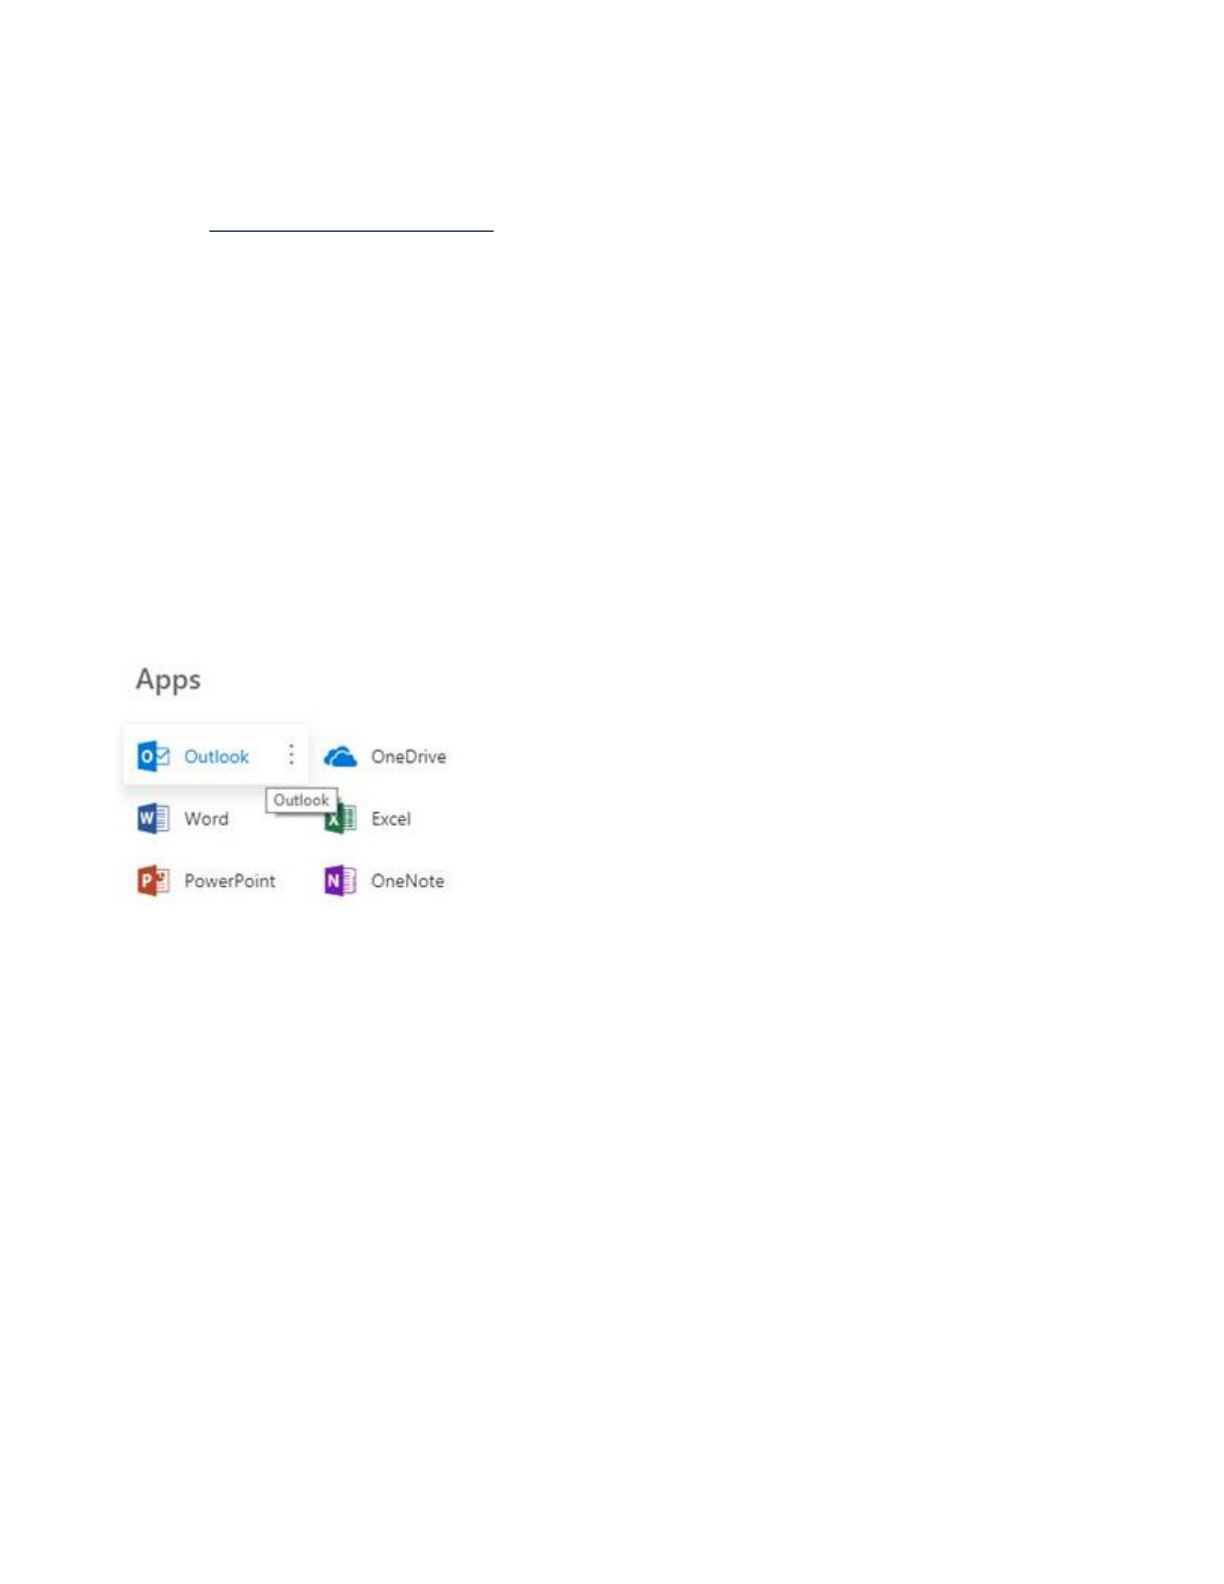
iv. Once done, you will be able to check your email on your smartphone (iOS
or Android) using the Outlook app and/or via Office 365 Outlook Web (as
shown below)
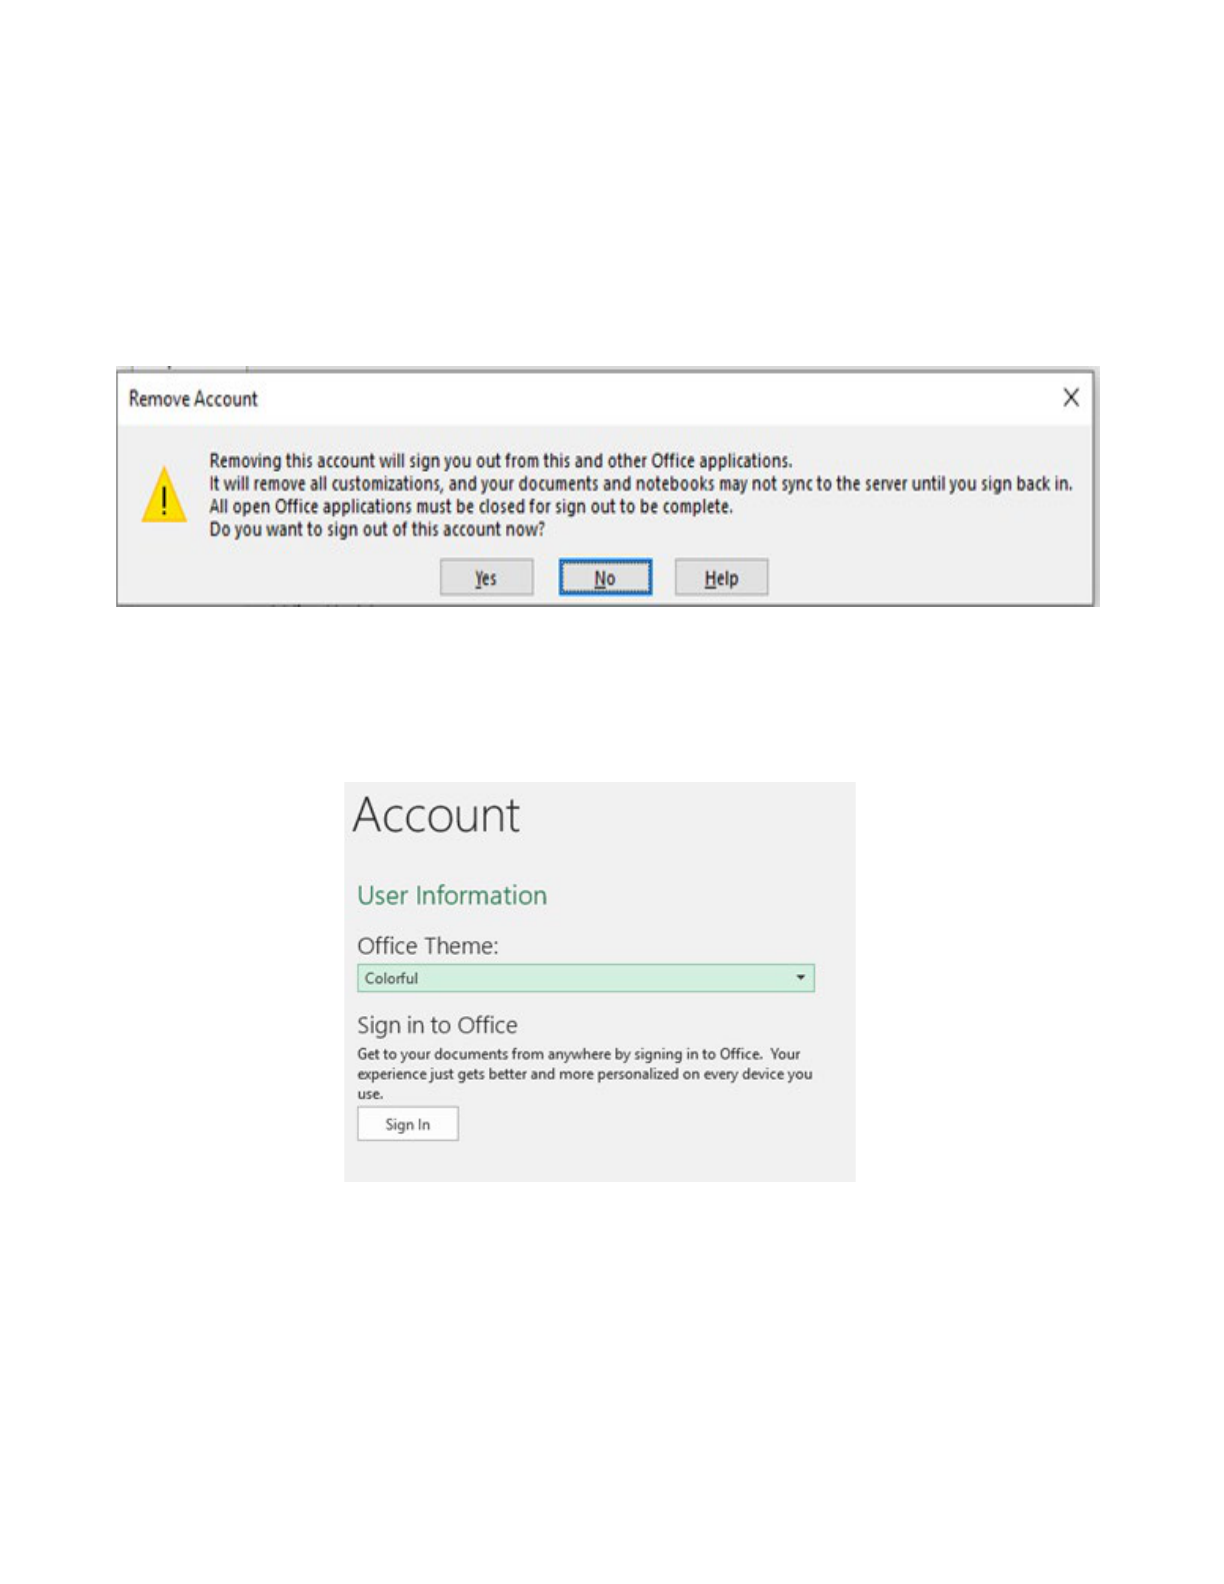
STEP 2: LOG OFF YOUR OFFICE APPLICATION FROM GODADDY
Open Microsoft Word
Click on Files
Click on Office Account
Click on Sign out
You will now get a message similar to the one below:
Click Yes
Repeat steps D and E until your only option is Sign In, as shown below:
Click Sign in
Enter your new credentials (Select work or school if asked)
Username: <your email address> (i.e.: johndoe@contoso.com )
Password: use the one you created when resetting your password in step 1
Your Office 365 Office Applications are now fully disconnected from
GoDaddy and now connected to your new Office 365 tenant

STEP 3: UPDATE OFFICE 365 TO THE LATEST VERSION
Open Microsoft Word
Click on Files
Click on Office Account
Click the button Update Options -> Update now
Office will either install an update or you will get a message such as
“You’re up to date! The latest version of Office is installed on your
computer”
STEP 4: RESET YOUR OUTLOOK PROFILE
If you were using Outlook 2013 or 2016 to manage your email hosted by
GoDaddy, you will need to reset your Outlook profile as your Exchange
server has changed from GoDaddy to Microsoft. Watch our video on
Microsoft Outlook Profile Update.
Congratulations! You are officially finished with GoDaddy. Welcome to the
world of Microsoft, on your own terms!

05
Final Thoughts
If you’ve made it this far, you deserve a medal. Truly, a
migration is no easy feat. However, life after a migration is
easy. Welcome to the wonderful world of full access and full
compatibility. If you pay for a product, you want it to fully work
and now, it will! Enjoy all that Office 365 has to offer. Check out
our
BEMO Blog for tips and tricks to discover the full potential
of your licensing.
If you’re thinking to yourself “There’s no congratulations in
order! I just read this whole eBook and I’m still overwhelmed!”,
don’t worry, we get it. Migrations can be a little nerve
wracking. So…
What if you still don’t feel confident doing this or simply
don’t have the time?
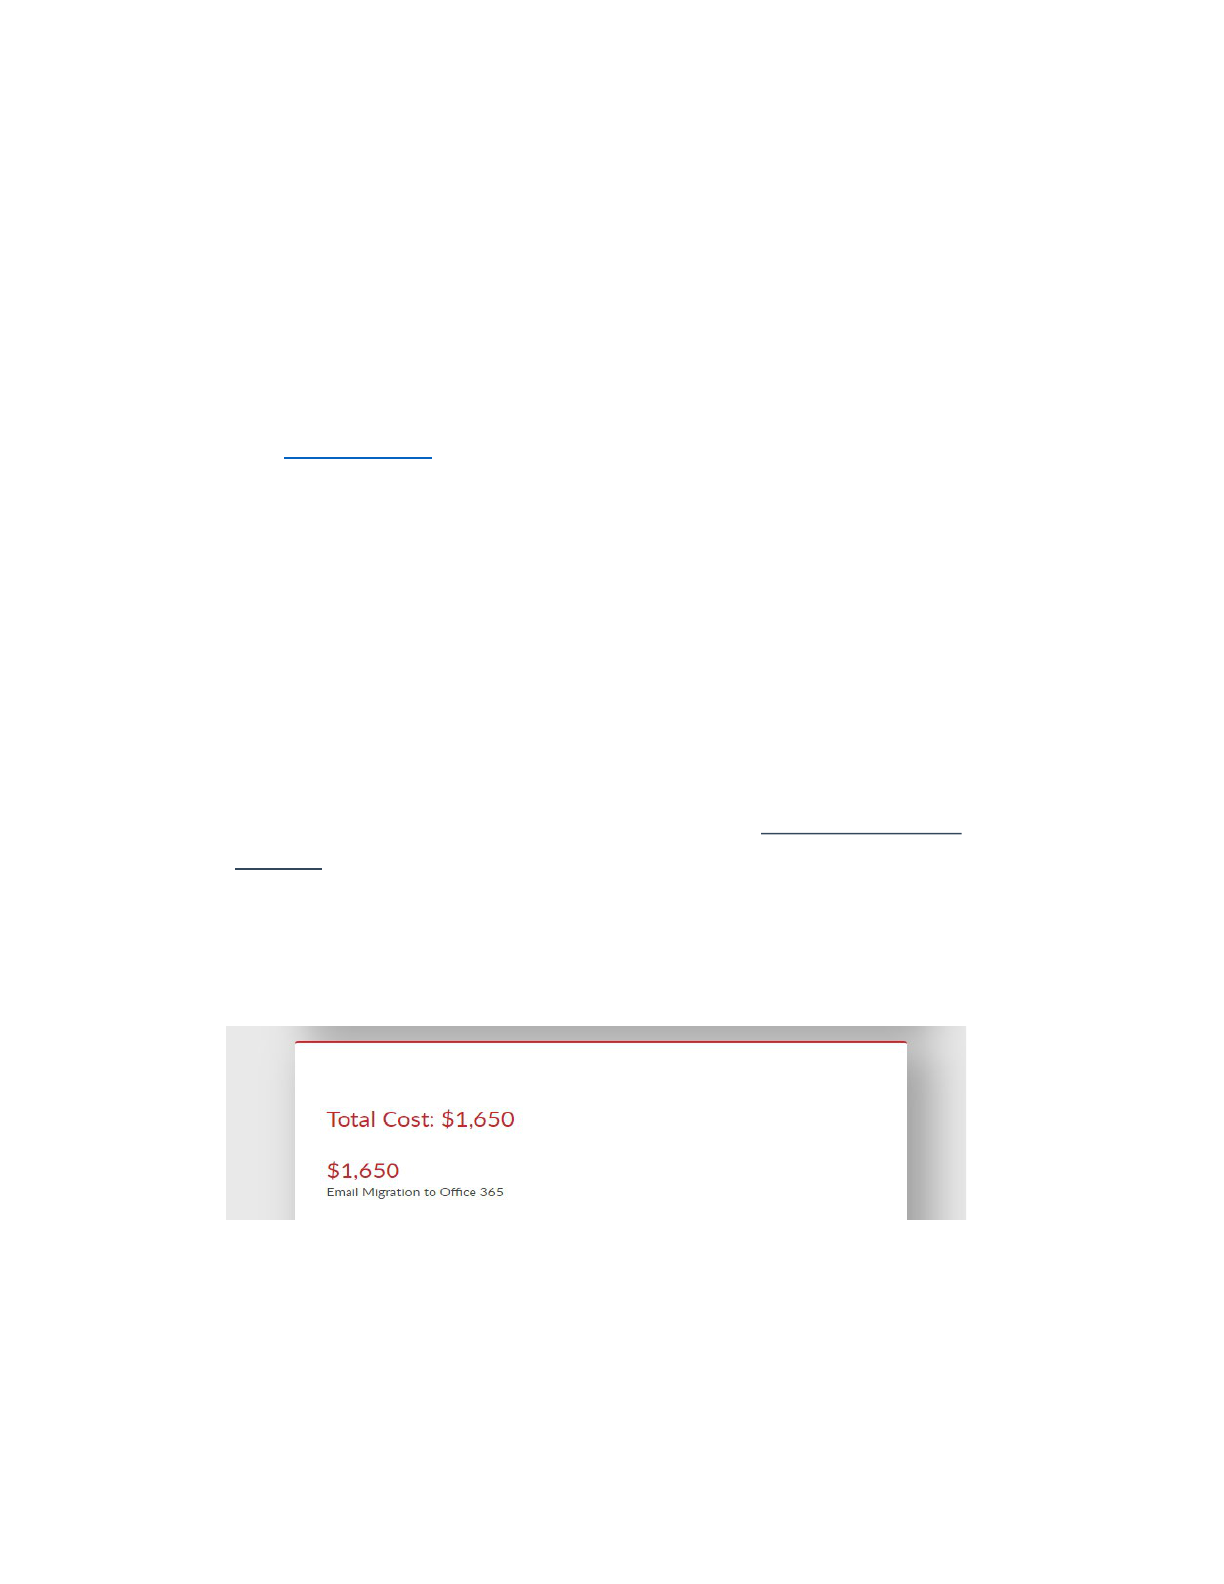
We can do it for you! Head on over to our
migration quote
builder
and we'll give you a quote without even having to
speak with us (though we are always happy to speak with
you!) Your quote will look something like what you see
below:

Thank you for reading How to Migrate from GoDaddy to
Office 365!
Please make sure to let us know how your
migration went and give any feedback! Visit us by going to
www.bemopro.com and starting a chat or leaving us a
comment on
the blog.
As always, we are here to serve you. Should you have any
questions or concerns, please feel free to reach out to us! Still
concerned about migrating? Read our blog Your Top 8 Office
365 Migration Questions, Answered (+Pricing)
.
Best wishes,
The BEMO Team
The End
